How To Do a CDL Pre-Trip Inspection
Step-by-Step Guide to Passing Your Test
Passing your CDL Pre-Trip Inspection is one of the most important parts of the CDL exam. Whether you’re preparing for your CDL exam or need to refresh your inspection knowledge, understanding the proper pre-trip inspection procedure is non-negotiable for every commercial driver. This comprehensive guide breaks down the exact steps you need to follow, the terms examiners expect to hear, and the critical safety checks that keep you compliant with the Department of Transportation’s (DOT) regulations.
What Is a Pre-Trip Inspection and Why It Matters
A pre-trip inspection is a mandatory safety check that CDL drivers need to perform before operating any commercial vehicle. Under the DOT’s regulations, drivers are legally required to inspect their vehicle to ensure it’s safe for operation and free from mechanical defects that could cause accidents or breakdowns.
The safety implications extend beyond legal compliance. A thorough pre-trip inspection identifies potential mechanical failures before they occur on the road, protecting you, your cargo, and other drivers. For carriers, these inspections reduce liability and minimize costly roadside breakdowns. Drivers who skip or rush through pre-trip inspections face serious consequences:
- Failed CDL tests
- Vehicle being placed out of service
- Fines up to thousands of dollars
- Increased liability in the event of an accident
All of these can be easily prevented with a thorough pre-trip inspection.
The Exterior Visual Inspection
The Walk Around
Before touching your vehicle, establish a systematic approach that ensures nothing gets overlooked. Start by introducing yourself to the examiner and stating two critical safety measures: “My keys are in my pocket and my wheels are chocked,” meaning the wheels of the truck are secured with wedge-shaped blocks to keep the vehicle from rolling. This demonstrates awareness of basic safety protocols.
Next, perform an initial visual inspection by walking around the entire truck and trailer combination. Look down both the left and right sides to check for any leaning, which indicates suspension problems. Walk completely around the vehicle looking underneath for puddles that signal fluid leaks—whether it’s:
- Oil
- Coolant
- Fuel
- Hydraulic fluid
This systematic approach creates a consistent routine. Always move in the same direction around the vehicle, typically starting from the driver’s side front and working your way around clockwise. This methodical process ensures you don’t accidentally skip critical components during the inspection.
After your initial walk-around, begin the detailed inspection at the front of the vehicle. When examining lights and markers, you’re establishing a pattern of terminology that you’ll repeat throughout the inspection. This consistency demonstrates thorough knowledge to examiners and develops a mental checklist you can rely on even under pressure.
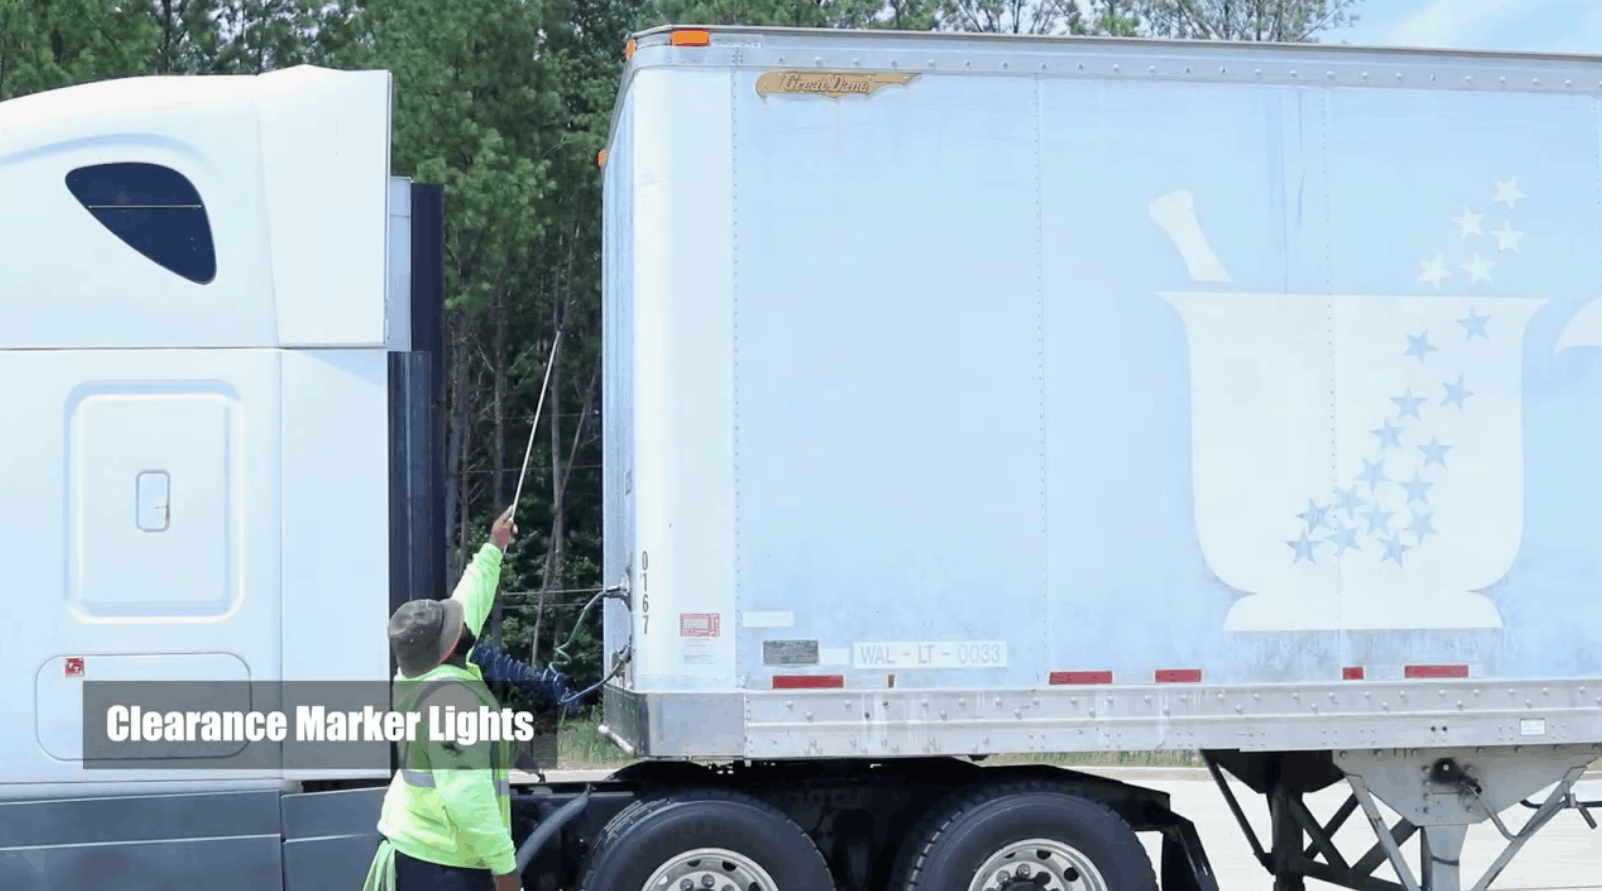
Exterior Lights and Markers
Clearance marker lights must be properly mounted and secured without cracks, bends, or breaks. Check that no hardware is missing from mounting brackets. Front clearance markers should be amber in color and clean enough for visibility. For headlights, verify both high beam and low beam functions are operational, properly mounted, not cracked or broken, with clear lenses and all mounting hardware intact.
Signal marker flasher lights follow the same inspection criteria: proper mounting, no damage, correct amber coloring, and complete hardware. Any missing screws, broken mounting tabs, or damaged lenses constitute inspection failures. The key is using consistent terminology: “properly mounted and secured, not cracked bent or broken, not missing any hardware, correct color, and clean.”


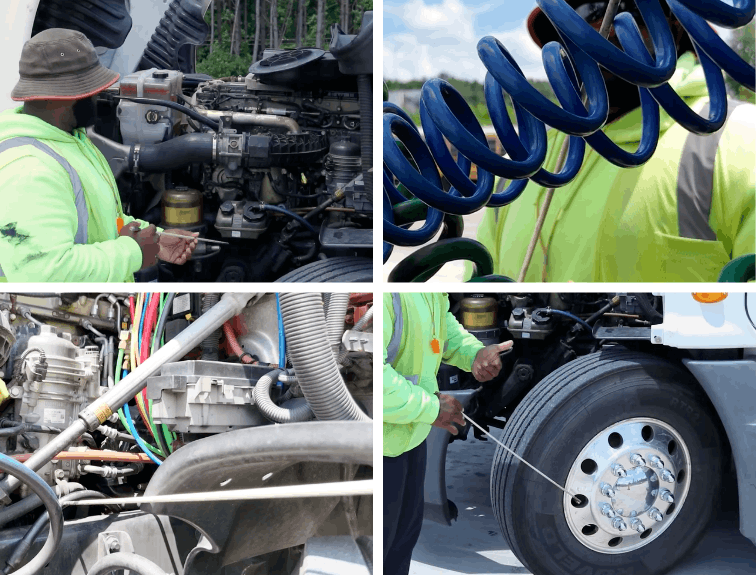
Engine Compartment Checklist
Announce to the examiner that you’re popping the hood to inspect the engine compartment. Direct them to follow you to the passenger side first—referred to as the “unique side” because it typically has components not duplicated on the driver’s side.
Perform a full sweep with your hands while explaining what you’re checking, actually inspecting, not just reciting memorized phrases.
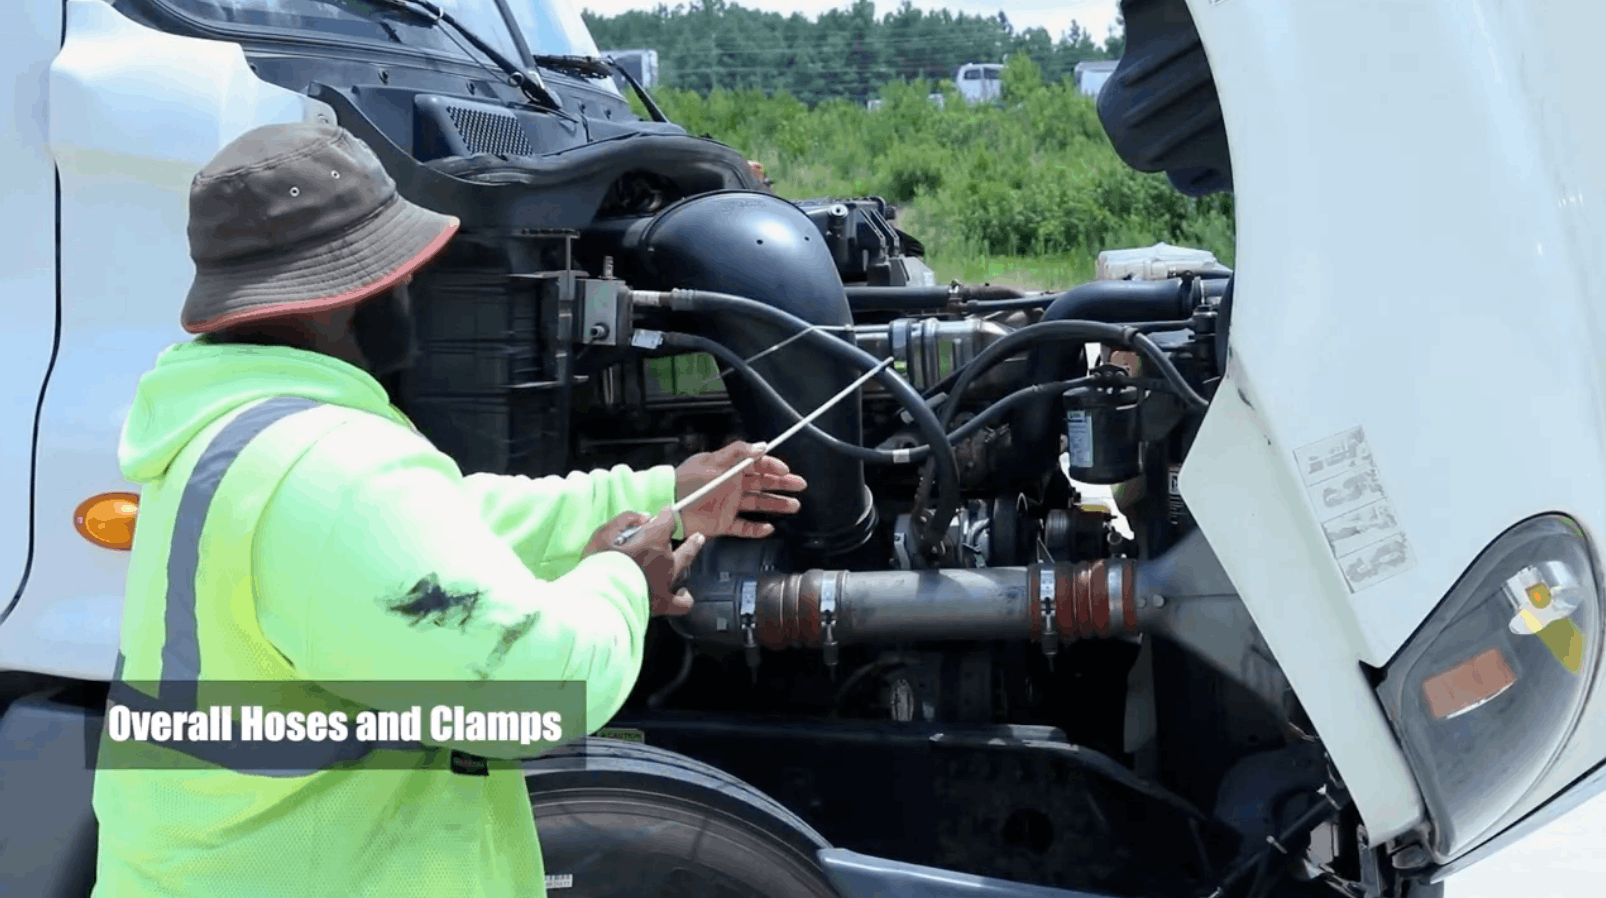
Hoses and Clamps Inspection
Start with a comprehensive statement covering all hoses: “My overall hoses and clamps are properly mounted and secured, not cracked bent or broken, not missing any hardware.” Then get specific: “My hoses have no abrasions, bulges, cuts, dry rot, or frays. I do not hear or see any audible leaks, and all my clamps are secured.”
This statement covers the critical failure points for hoses—deterioration from age, damage from road debris, and loose connections that could fail under pressure.
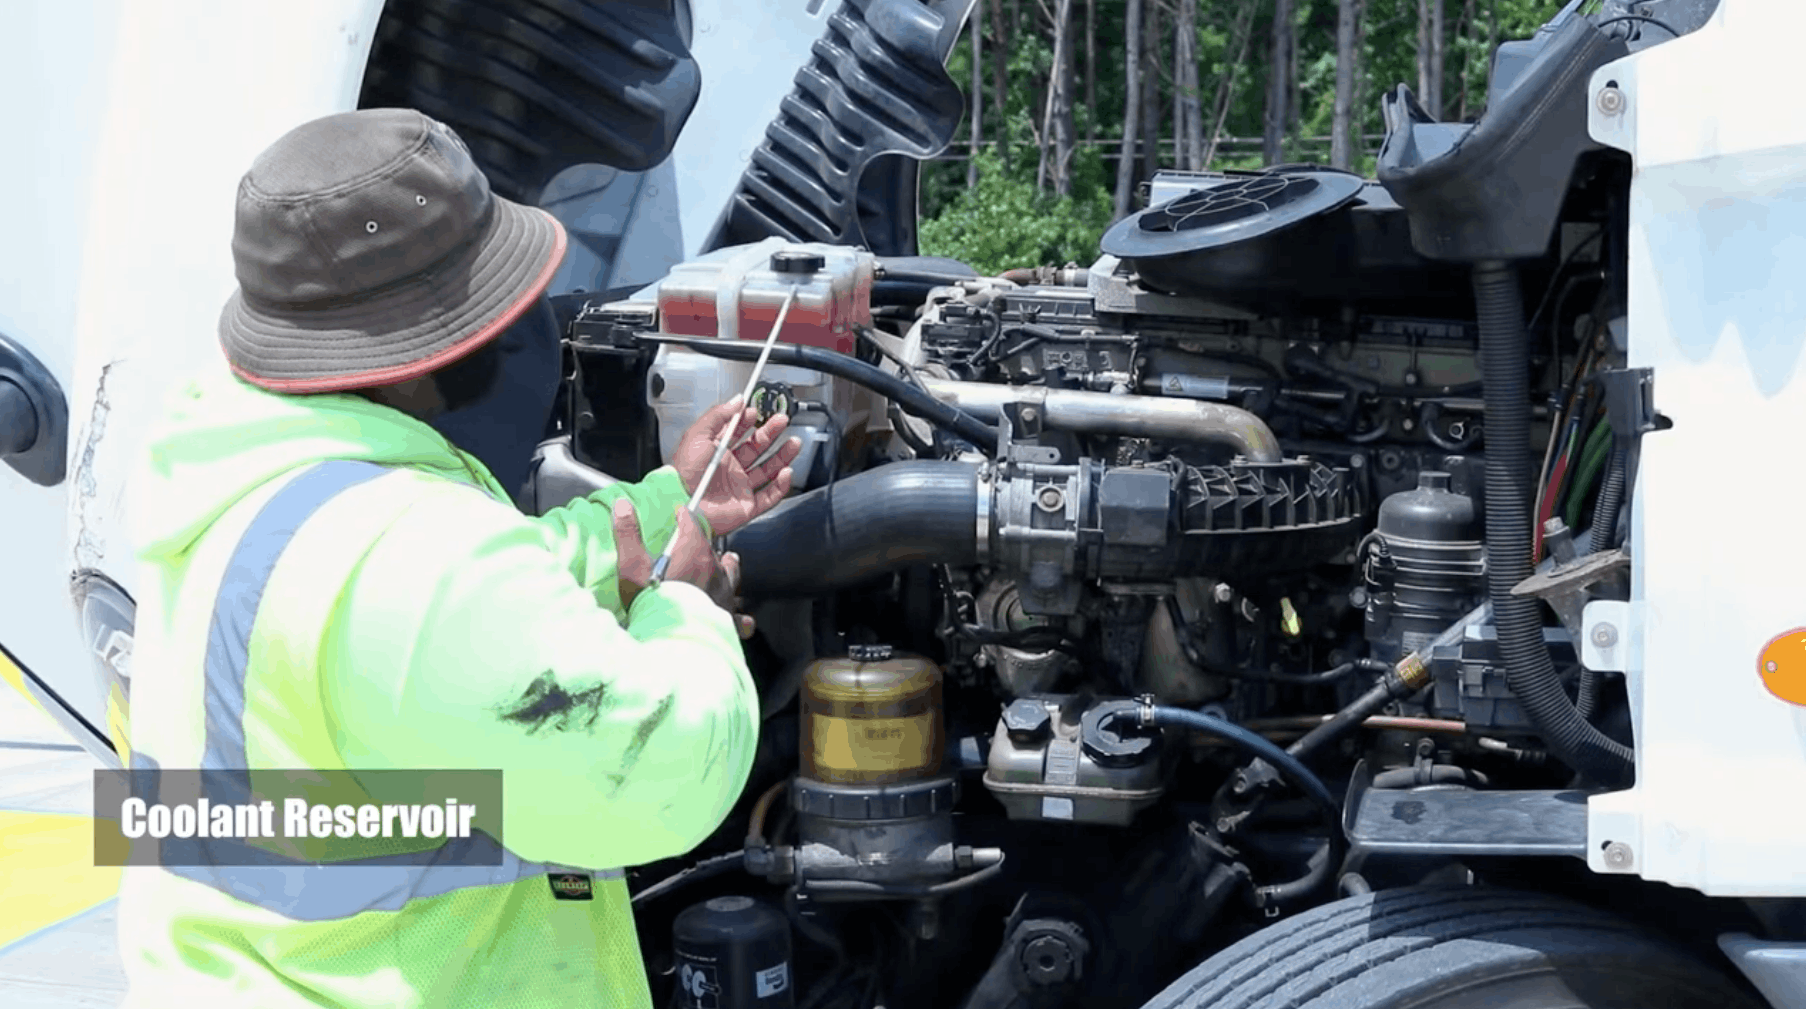
Fluid Level Verification
The coolant reservoir inspection confirms proper mounting without damage, then verifies the fluid level sits between the minimum and maximum indicators at the proper operating level, with no leaks around the cap.
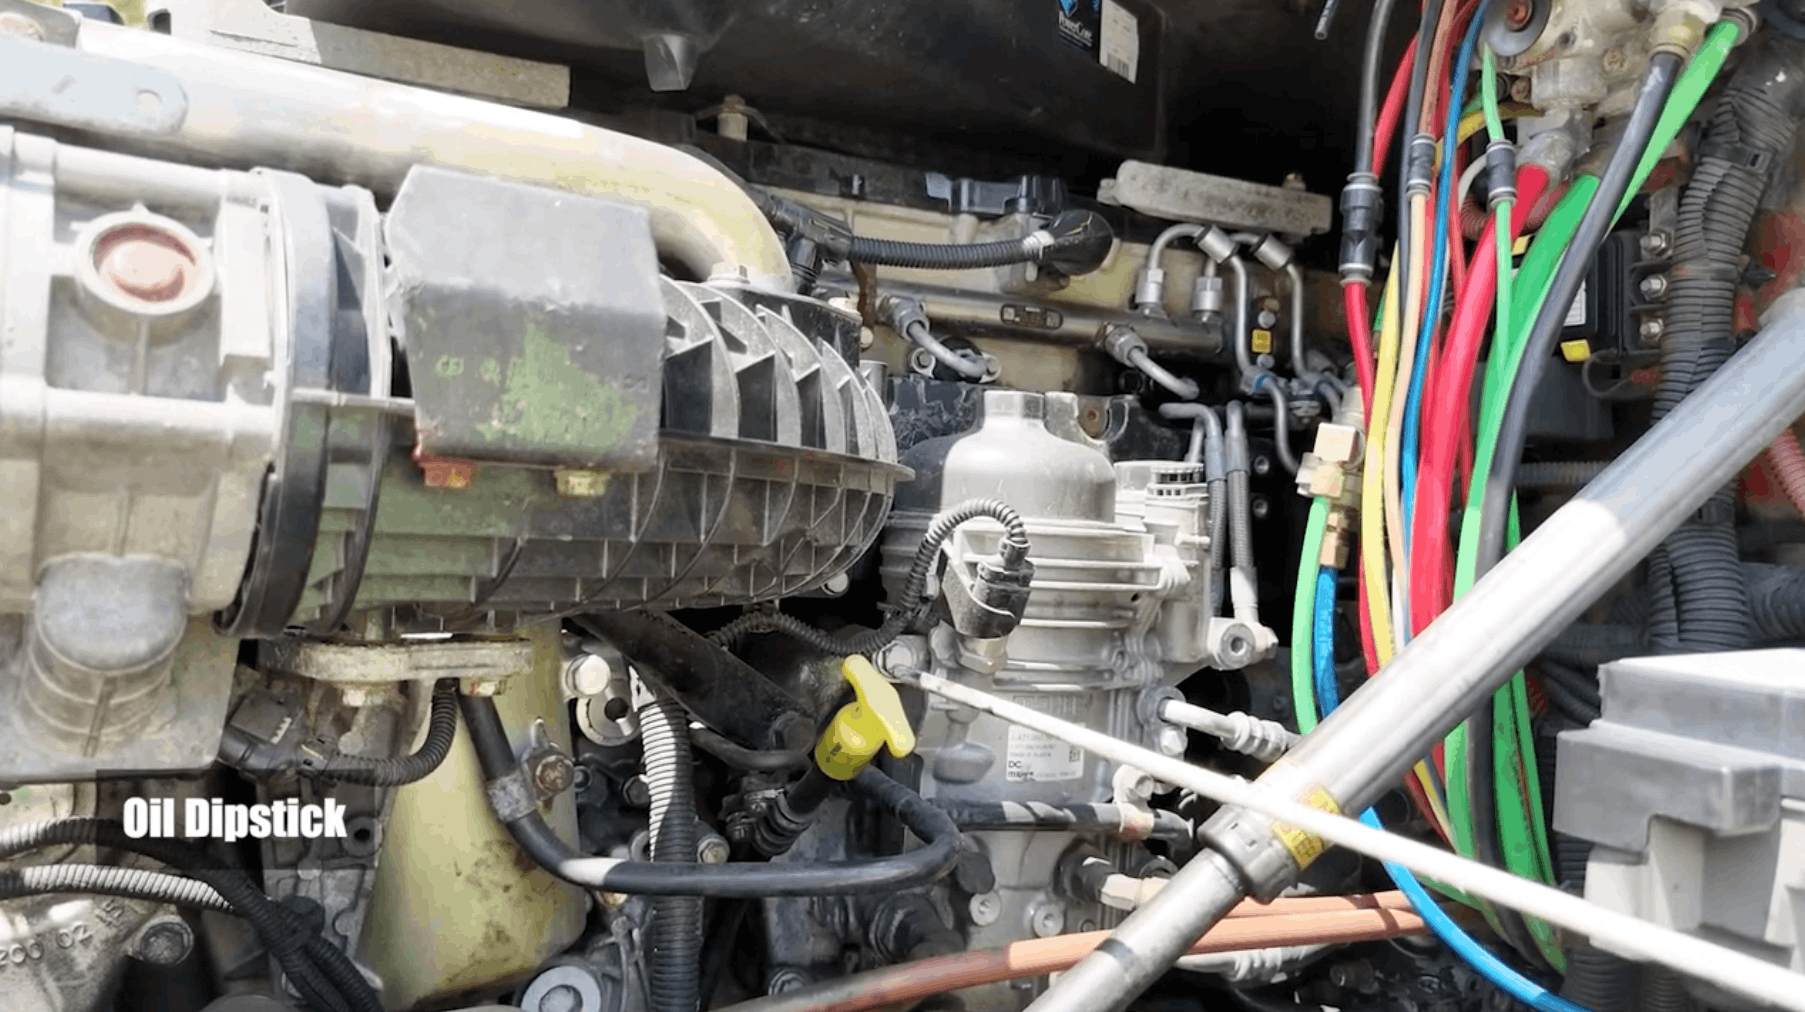
For the oil dipstick, demonstrate the proper checking procedure: remove the dipstick, wipe it clean, insert it fully back into the tube, remove it again, and verify the oil level falls between minimum and maximum marks.
Power steering reservoir follows the same pattern—check mounting, verify fluid level between minimum and maximum marks, and ensure the cap isn’t leaking.
Steering and Suspension Components
The gear-driven steering box must be properly mounted, undamaged, and leak-free. Then identify the five critical steering components that can be combined in your inspection:
- The pitman arm
- Drag link
- Upper control arm
- Lower control arm
- Tie rod
These components must be properly mounted and secured together with castle nuts and cotter pins—critical safety hardware that prevents disconnection.
For suspension, inspect both the front and rear spring mounts and hangers, pointing to each location. Leaf springs must be properly mounted without cracks, breaks, or shifting that indicates worn mounting hardware.
Georgia Driving Academy’s Pre-Trip PowerPoint Resource →
Common Pre-Trip Inspection Mistakes to Avoid
The biggest mistake drivers make is rushing through the inspection without actually looking at components. Examiners want to see you physically check items, not just recite memorized phrases while staring into space.
Using improper terminology costs points on CDL tests. Learn the exact phrasing expected in your state—terms like “properly mounted and secured” and specific color requirements for lights.
Many drivers forget to check for missing hardware—the bolts, nuts, and fasteners that hold components in place. A missing cotter pin in a steering component or absent lug nuts are automatic failures.
Overlooking signs of fluid leaks and hose deterioration are dangerous oversights. These often-subtle signs indicate impending component failure.
Finally, failing to demonstrate knowledge of minimum and maximum fluid levels shows incomplete understanding of proper operating conditions.
Safety Inspection Best Practices for CDL Drivers
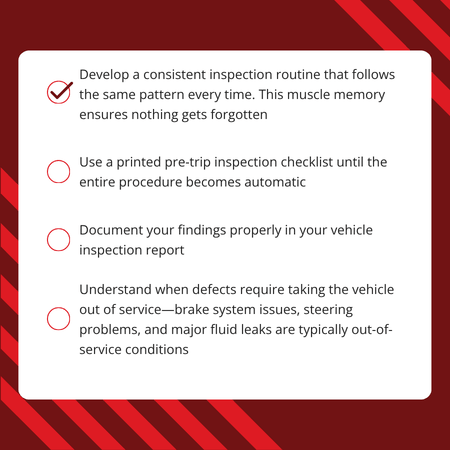
For CDL test preparation, practice the inspection procedure daily for at least two weeks before your test. Practice on the same type of vehicle you’ll test with, as component locations vary between manufacturers.
Conclusion
A thorough pre-trip inspection is your first line of defense against vehicle failures and accidents on the road. Mastering the CDL pre-trip inspection checklist requires dedicated practice and attention to every detail—from clearance lights to steering components to brake systems. Consistent use of proper terminology and systematic procedures ensures DOT compliance while building the habits that keep you safe throughout your driving career. Download a printable DOT pre-trip inspection checklist and commit to practicing daily until the procedure becomes second nature. Your safety, your career, and the lives of everyone sharing the road depend on it.
Frequently Asked Questions
How long should a CDL pre-trip inspection take?
A thorough pre-trip inspection typically takes 15-30 minutes for an experienced driver. During your CDL test, expect to spend 30-45 minutes demonstrating your knowledge to the examiner.
What happens if you fail your CDL pre-trip inspection test?
You’ll need to reschedule and pay for another test attempt. Most states allow multiple retakes, though waiting periods may apply. Use the failure as a learning opportunity to identify weak areas.
Do I need to memorize the exact wording for the pre-trip inspection?
While exact wording varies by state, you must use proper terminology that demonstrates understanding of what you’re inspecting and why.
Can I use a pre-trip inspection checklist during my CDL test?
No. During the CDL pre-trip inspection test, you must demonstrate from memory. However, use checklists during practice and during your daily professional pre-trip inspections.